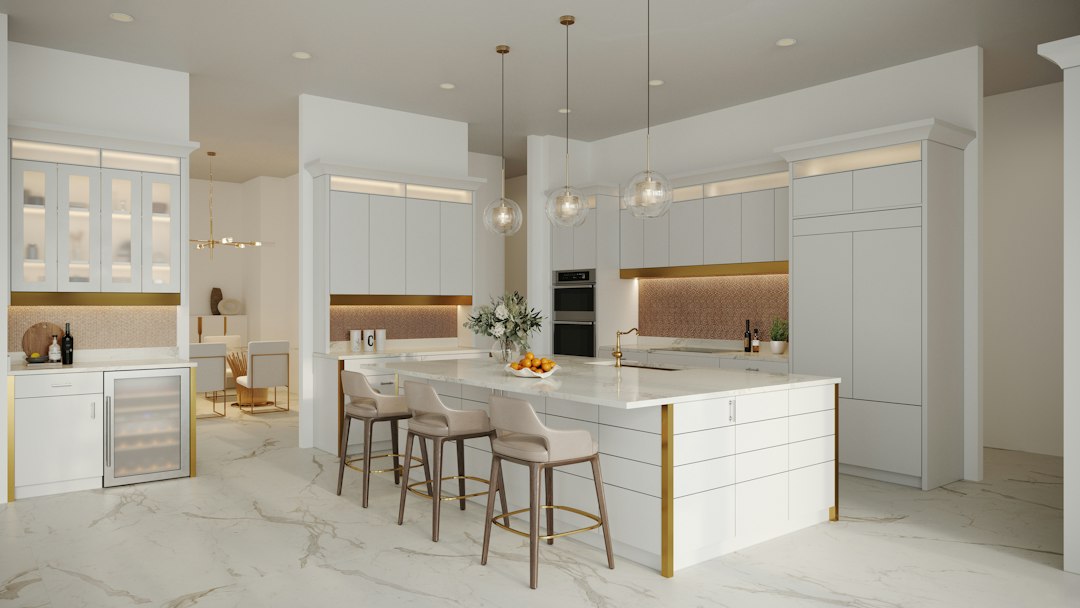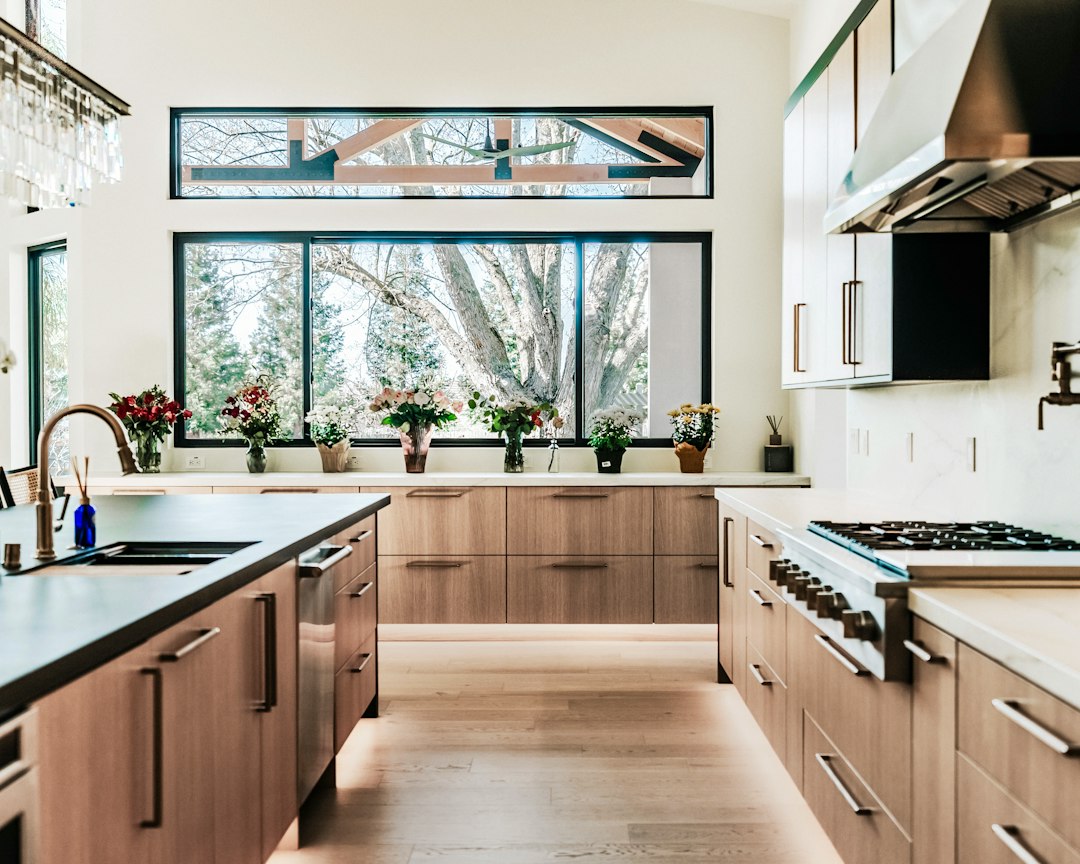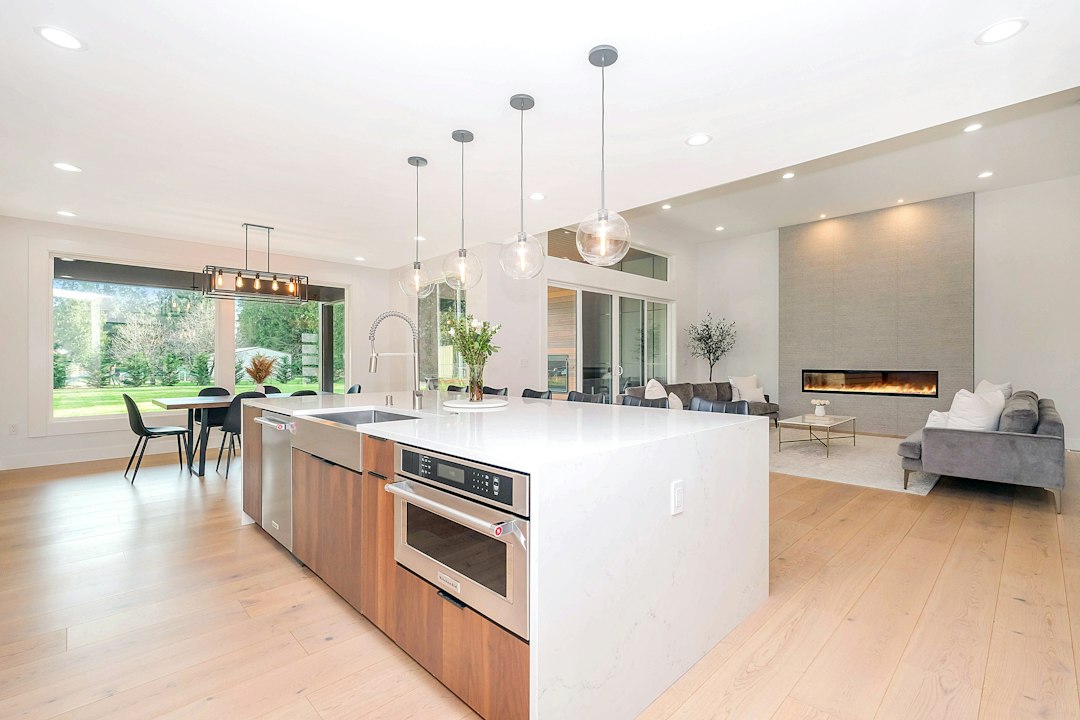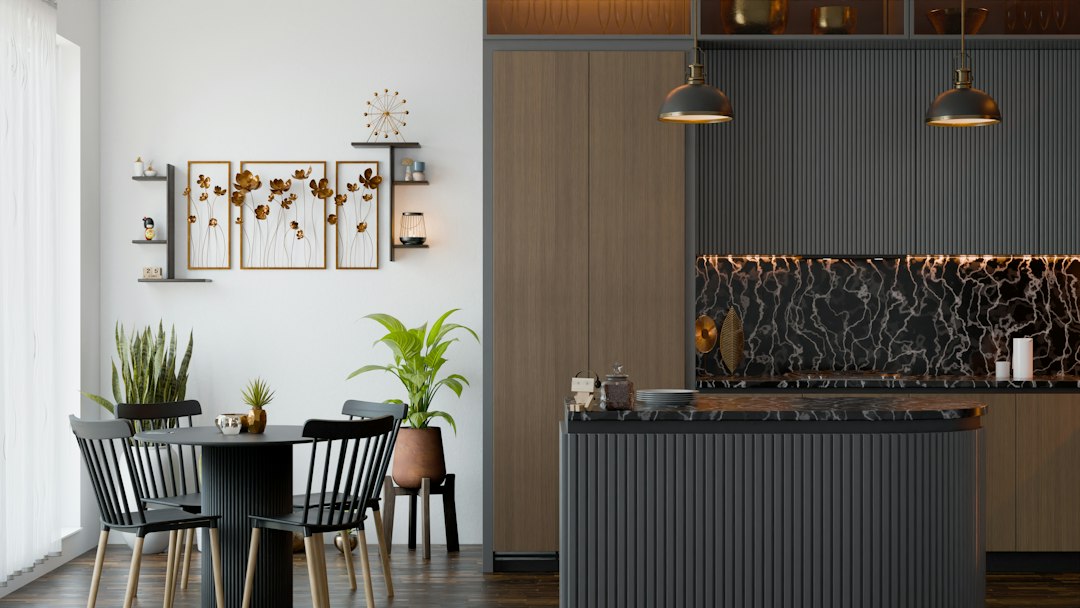
A kitchen island can be the defining feature of a luxury kitchen, but the most successful designs do more than create a dramatic centrepiece. They improve how the room works, bring people together and make everyday routines feel effortless. In London homes, where layouts can range from generous open-plan extensions to compact Victorian terraces, getting the island right starts with understanding the space around it.
Whether you are planning a complete renovation or refining an existing kitchen, these design ideas will help you balance proportion, materials, storage and lighting for an island that feels considered rather than oversized.
Start with the way you use your kitchen
Before choosing a stone slab or a statement pendant, think about what the island needs to do. For one household, it may be a breakfast bar and a place for children to do homework. For another, it may be the main preparation zone, with a sink, hob or additional storage. In an open-plan home, it can also provide a natural boundary between cooking and living areas without closing the room off.
Write down the three tasks you most want the island to support. This simple exercise helps establish the right length, depth and configuration before you commit to cabinetry or worktops. It also prevents an attractive design feature from becoming an obstacle to everyday movement.
Get the proportions and clearances right
A generous island can look impressive in a showroom, but its dimensions must suit the room. Leave enough space for cabinet doors, drawers, appliances and people to pass comfortably. As a practical starting point, many kitchens benefit from roughly 1 metre of clear circulation space around the island, with more room where two people regularly work back-to-back or where appliance doors open into the walkway. The ideal clearance depends on the layout, users and appliances, so confirm it with your kitchen designer.
In narrower London kitchens, a slim island or peninsula may be more effective than a large freestanding block. A peninsula connected to a wall or cabinet run can provide much of the same preparation and seating space while preserving a clearer route through the room. In a larger extension, a longer island can create distinct zones for cooking, serving and informal dining.
Choose materials that work together
Luxury does not require every surface to compete for attention. Often, the most timeless kitchens combine a small number of materials with contrasting textures. Natural stone can introduce movement and individuality, while timber adds warmth to painted or lacquered cabinetry. Brushed metal details can provide a subtle highlight without making the room feel overly decorative.
For the island worktop, consider how the surface will be used as well as how it looks. Some natural stones develop patina and require regular care; engineered surfaces may offer more consistent patterns and different maintenance requirements. Ask suppliers about staining, heat, scratching, sealing and cleaning before making a final choice. If you love a dramatic veined stone, using it on the island while keeping surrounding worktops quieter can make it the focal point without overwhelming the room.
Cabinetry is equally important. A contrasting island colour can help define the centre of the kitchen, while matching cabinetry creates a calmer, more architectural effect. Oak or walnut accents can soften darker finishes and link the kitchen to flooring or furniture in adjoining living spaces.
Make storage part of the design
A beautiful island should help keep the kitchen organised. Deep drawers are useful for pans and everyday cookware, while narrower drawers can hold utensils, linens and preparation tools. If the island includes seating, plan the overhang and support structure early so that knee space is comfortable and storage is not compromised.
Think carefully about which side of the island should open towards the cooking zone and which should face the dining or living area. Frequently used items should be easy to reach while cooking, whereas serving pieces or less-used equipment can be stored on the opposite side. Integrated power sockets may be useful for small appliances, but their placement should be coordinated with the worktop material and the electrical plan.
Decide whether to include a sink or hob
Putting a sink or hob in the island can create a sociable working arrangement, allowing the person cooking to face family or guests. It can also introduce extra complexity. A sink requires carefully planned plumbing and waste routes; a hob may require suitable extraction, safe clearances and consideration of where cooking smells and heat will travel.
Before selecting either option, ask your designer or installer to assess the building constraints and applicable requirements. In some homes, keeping the island clear for preparation and serving is the more elegant solution. The main cooking and washing functions can remain along the wall, leaving the island flexible for entertaining and everyday family life.
Use lighting to give the island presence
Lighting helps an island feel intentional. Pendants can create a visual centre and add decorative character, while recessed or track lighting provides general illumination. The goal is to combine an attractive focal point with useful task lighting, avoiding glare on polished stone and shadows across preparation areas.
Consider the scale of the fixtures in relation to the island and ceiling height. A pair of larger pendants may suit a long island, while a series of smaller fittings can create a lighter rhythm. Dimmable lighting makes it easier to move from bright food preparation to a softer atmosphere for dinner or drinks. Coordinate the lighting plan with cabinetry, extraction and any ceiling details before installation.
Keep seating comfortable and practical
Island seating can turn a kitchen into a natural gathering place, but comfort depends on more than the number of stools. Allow sufficient width for each seat, suitable knee room beneath the worktop and a clear route behind people who are sitting. Check stool height against the finished worktop height, and consider whether backs or footrests will make longer meals more comfortable.
If the kitchen is part of an open-plan living space, choose finishes that connect with the rest of the interior. Upholstered stools can soften a hard-working kitchen, while timber or metal frames may echo details elsewhere in the room. Keep fabrics and finishes practical enough for regular use.
Plan the details before installation
The most polished islands are usually the result of early coordination. Confirm appliance sizes, drawer layouts, socket positions, lighting locations, worktop joints and seating clearances before cabinetry is manufactured. If the island is unusually large or uses a heavy stone top, ask the installer to verify the required support and access for delivery.
It is also worth reviewing how the island will look from adjoining rooms. In open-plan homes, the back of the island may be visible from the dining table or sofa, so end panels, handle choices and any open shelving deserve the same attention as the working side.
A centrepiece that earns its place
A luxury kitchen island works best when beauty and practicality are designed together. The right proportions protect movement, thoughtful storage keeps the worktop clear, and a restrained palette lets materials speak for themselves. Add lighting and seating that suit the way you live, and the island becomes more than a visual statement: it becomes the natural heart of the home.
For a renovation, start with the room’s measurements and daily routines, then work through layout, materials and details in that order. A well-planned island will feel effortless long after the initial impact has faded.