Lighting can make a beautiful kitchen feel warm, welcoming and carefully considered—or leave even expensive materials looking flat. In a luxury kitchen, the difference rarely comes from one dramatic pendant alone. It comes from combining several types of light, placing them where they are useful, and choosing a colour temperature that works with the finishes.
Whether you are planning a full renovation or updating an existing room, a thoughtful lighting plan can improve everyday tasks while bringing out the character of cabinetry, stone and timber. Here are the details worth considering before you choose the fittings.
1. Start With Three Layers of Light
A reliable kitchen lighting scheme usually combines ambient, task and accent lighting. Each layer has a different job, and the best results come when they work together rather than compete.
Ambient lighting provides general illumination across the room. This might come from recessed ceiling lights, a well-positioned ceiling fixture or discreet architectural lighting. It should make the kitchen comfortable to move through without creating harsh pools of brightness.
Task lighting helps you see clearly while preparing food, reading recipes or cleaning. Under-cabinet strips are particularly useful because they illuminate the worktop from the front, reducing the shadows that ceiling lights can cast when you stand at the counter.
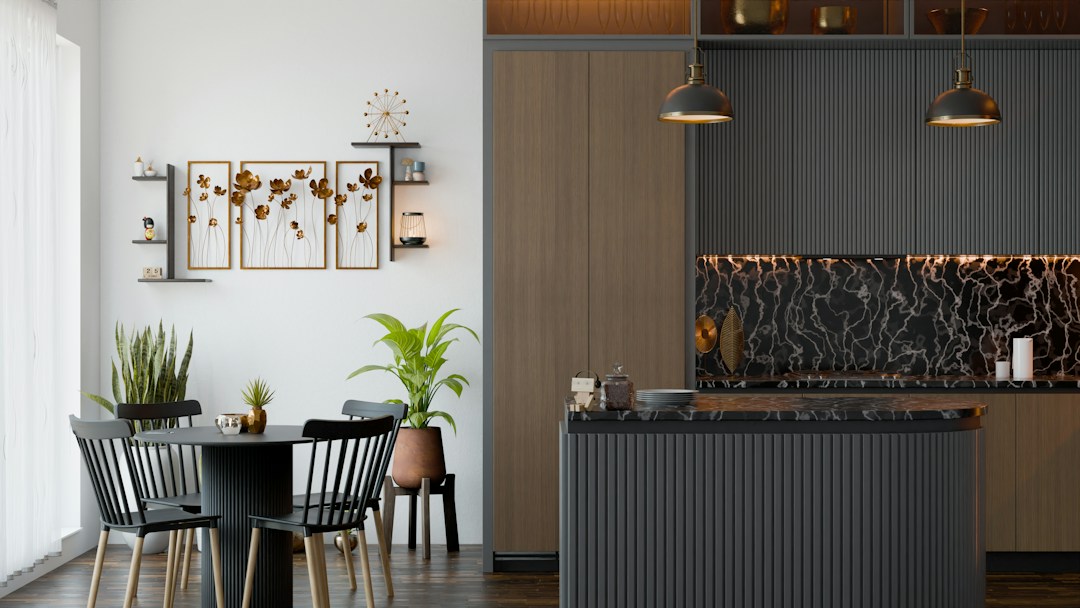
Accent lighting adds depth and atmosphere. It can draw attention to a textured splashback, open shelving, a display cabinet or a distinctive architectural feature. In a refined kitchen, this layer is often subtle: the effect should feel intentional rather than theatrical.
When these layers are controlled separately, the room can shift from bright and practical during meal preparation to softer and more relaxed when entertaining.
2. Make Worktop Lighting a Priority
Decorative pendants may be the most noticeable fixtures in a kitchen, but worktop lighting often has the greatest day-to-day impact. A ceiling light positioned behind the person using the counter can cast a shadow exactly where good visibility is needed.
LED strips fitted beneath wall cabinets can provide an even wash of light across the surface. Look for a system with a diffuser to minimise visible dots and glare, and plan the position of the light source so it illuminates the working area rather than shining directly into your eyes.
If your kitchen has no wall cabinets, alternatives include carefully positioned ceiling lights, slim surface-mounted fittings or lighting integrated into shelving. The important point is to decide where food preparation will happen before finalising the electrical plan.
3. Choose Pendant Lights for Scale, Not Just Style
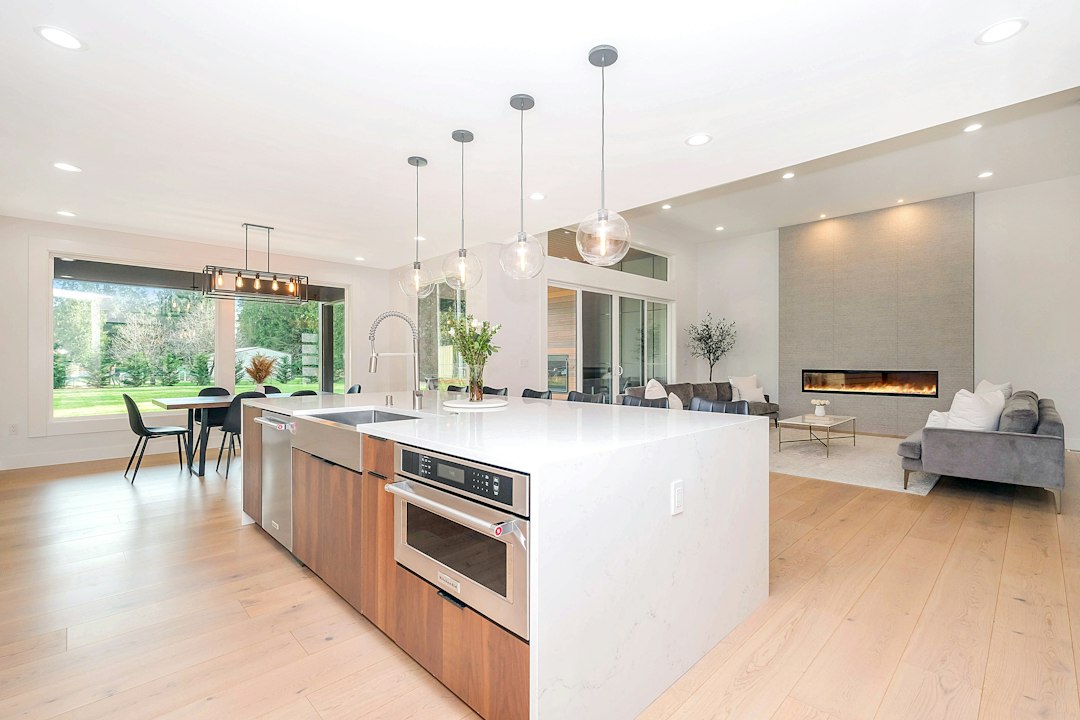
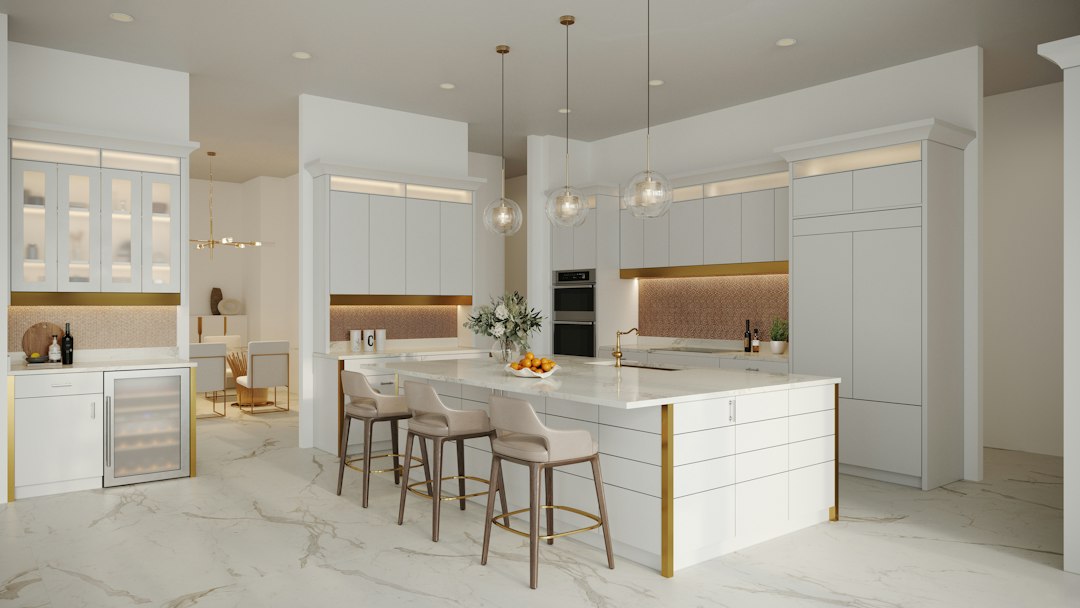
Pendants above an island or dining counter can give a kitchen a focal point, but size and placement matter as much as the design. A fixture that looks elegant in a showroom may feel oversized in a compact room, while tiny pendants can disappear above a long island.
Consider the island’s length, ceiling height, sightlines and how people use the space. Two or three fittings may create a balanced rhythm over a longer surface, while a single sculptural pendant can work well where the island is smaller or the design is intentionally restrained.
As a starting point, designers often position pendants so they illuminate the surface without obstructing conversation across the island. The correct hanging height depends on the fixture, ceiling and users, so confirm it on site with the electrician before installation.
Finally, check how the pendants look from adjoining rooms. In open-plan homes, they are part of the wider interior composition, not just a detail viewed from inside the kitchen.
4. Get the Colour Temperature Right
Light colour changes how materials appear. Very cool lighting can make warm timber and cream cabinetry feel stark, while overly yellow light may distort the appearance of pale stone or painted finishes.
For many residential kitchens, a warm-to-neutral white light creates a comfortable balance. The right choice depends on the palette, daylight and the atmosphere you want. If possible, test samples against your actual worktop, cabinet door and splashback rather than choosing from a specification sheet alone.
Consistency also matters. Different bulbs with noticeably different colour temperatures can make one area look blue and another amber. Use compatible lamps and LED systems across connected zones, and check colour rendering so food and finishes look natural.
5. Plan for Dimmers and Separate Controls
A kitchen needs to support several activities, sometimes within the same evening. Bright, even lighting is useful for cooking and cleaning; a softer setting can make the room feel calmer when guests gather around the island.
Dimmers and separate switching give you that flexibility. You might control ceiling lights, under-cabinet task lighting, island pendants and display lighting independently. Smart controls can add scenes or scheduled settings, but a simple, clearly labelled arrangement can be just as effective.
Confirm compatibility before buying dimmable LEDs, drivers and switches. Not every combination dims smoothly, and mismatched components can flicker or produce an irritating low-level hum.
6. Use Lighting to Reveal Materials
Luxury kitchens often combine surfaces with very different qualities: polished stone, brushed metal, timber veneer, textured tile and painted cabinetry. Light direction influences how each one reads.
Light grazing across a textured wall can emphasise its surface, while a carefully aimed fitting can bring out the movement in natural stone. Timber may look richer under a warmer source, whereas glossy finishes need careful positioning to avoid distracting reflections.
Before committing to a feature-lighting detail, consider the view from normal standing and seating positions. A dramatic reflection in a sample room may become glare when the same material is installed opposite a window or a row of downlights.
7. Avoid the Common Planning Mistakes
Several problems are easier to prevent before the cabinets and ceiling are finished:
- Relying only on downlights: they may leave worktops in shadow and make the room feel flat.
- Adding pendants too late: the electrical points may not line up with the island or its seating.
- Ignoring glare: exposed lamps and reflective surfaces can be uncomfortable from certain angles.
- Mixing incompatible light colours: different zones may look disconnected even when the finishes match.
- Forgetting maintenance: choose fittings that can be cleaned and light sources or drivers that can be replaced when needed.
It is also worth coordinating lighting with ventilation, tall cabinetry, door swings and ceiling details. A fitting should look good, but it must work with the practical layout of the room.
Build the Lighting Plan Around Real Life
The most successful luxury kitchen lighting is not necessarily the most elaborate. It is the scheme that makes preparation easier, presents materials beautifully and adapts to the way the household uses the space.
Begin by mapping the work zones, then layer general illumination with focused task lighting and a few considered accents. Test colour temperature against your chosen finishes, and decide early where dimmers and switches should sit. If you are renovating, coordinate the plan with your kitchen designer and electrician before cabinetry, ceilings and splashbacks are installed.
Those decisions may be less visible than a statement pendant, but together they create a kitchen that feels balanced, practical and inviting at every time of day.